How to Prepare Your Home for Interior Painting
Good prep is the difference between a paint job that lasts and one that peels in two years. Here is exactly what to do before the painters arrive — and what we handle for you.

Here is something most homeowners do not realize: the quality of an interior paint job is determined more by preparation than by the paint itself. You can use the best paint money can buy, but if the surface is not properly prepared, it will not look right and it will not last.
Whether you are doing a single room or a whole-house repaint, here is what good preparation looks like — and what you can do to make the process go smoothly.
What You Should Do Before Painters Arrive
Clear the Room
Move furniture away from the walls — ideally to the center of the room or out entirely. Painters will cover what remains with drop cloths, but the less furniture in the way, the faster and cleaner the job goes.
Remove wall art, mirrors, and anything hanging on the walls. Take down curtains and curtain rods if you want the trim and walls behind them painted.
Clean Your Walls
Dirty walls prevent paint from bonding properly. Wipe down walls with a damp cloth to remove dust, cobwebs, and surface grime. In kitchens and bathrooms, use a mild degreaser — cooking grease and soap residue are common culprits for adhesion failure.
You do not need to scrub every inch, but pay attention to areas around light switches, door handles, and anywhere hands frequently touch.
Note Any Problem Areas
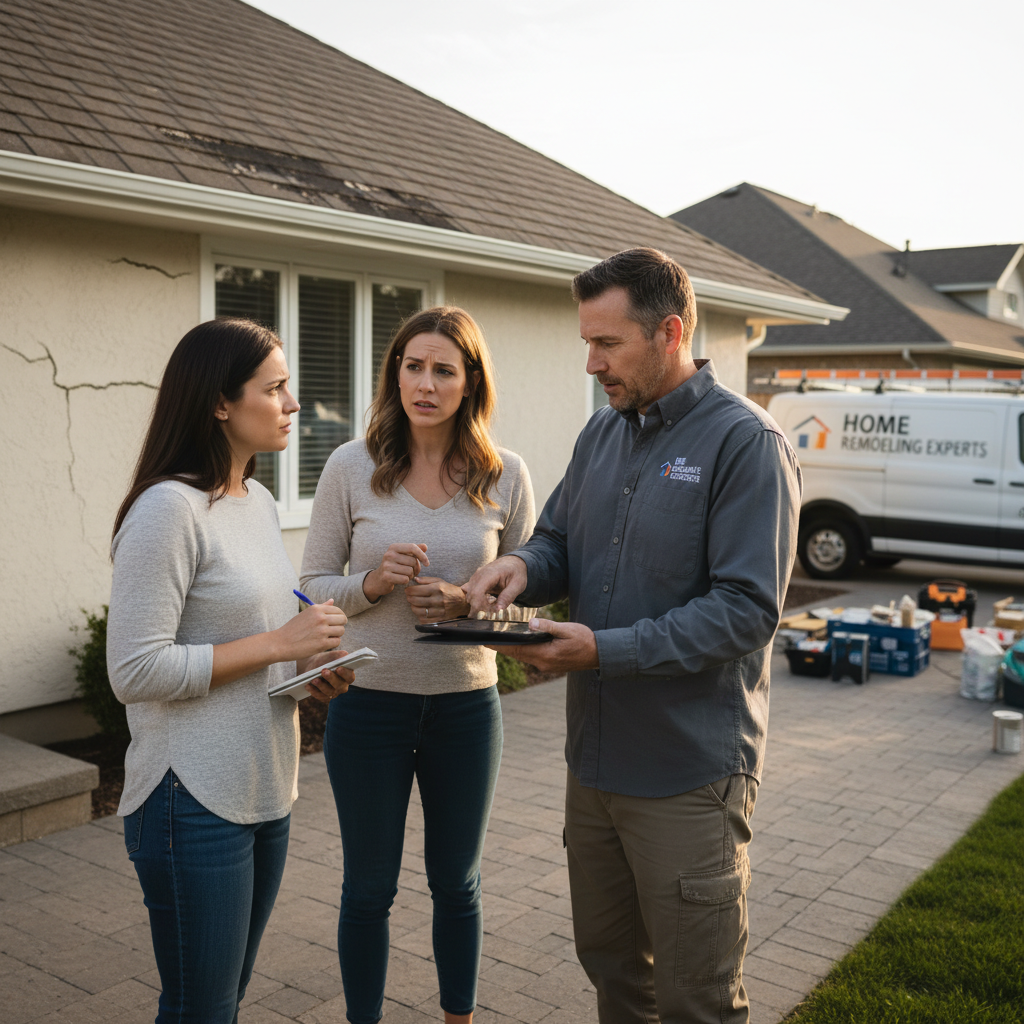
Walk through the rooms being painted and note any cracks, holes, water stains, or areas of peeling paint. Point these out to your painter before work begins. Some issues — like water stains — require specific primers to prevent bleed-through. Others may indicate underlying problems (like a slow leak) that should be addressed before painting.
Protect Flooring
If you have area rugs, roll them up and move them out. Hardwood floors and tile can be covered with drop cloths, but it is easier to move rugs entirely.
Communicate Your Color Choices
Have your paint colors selected and confirmed before the painters arrive. Last-minute color changes mid-job cause delays and can add cost. If you are unsure, we are happy to help with color selection during the estimate process.
What Professional Painters Handle
When you hire Riverside Painters, here is what we take care of:
Surface Repair
We fill nail holes, small cracks, and minor dents with spackling compound or joint compound, then sand smooth. Larger repairs — like damaged drywall sections — are assessed and quoted separately.
Caulking
We caulk gaps between trim and walls, around window and door frames, and anywhere there are visible gaps. Fresh caulk gives the finished job a clean, professional look and helps prevent moisture intrusion.
Sanding
Glossy surfaces need to be scuffed before new paint will adhere. We sand previously painted trim, doors, and any areas with a sheen to ensure proper bonding.
Priming
Not every surface needs a full prime coat, but some do:
- New drywall always needs primer
- Bare wood needs primer to prevent tannin bleed-through
- Water stains need a stain-blocking primer (like Zinsser BIN or Kilz) to prevent them from bleeding through the finish coat
- Dramatic color changes (especially going from dark to light) benefit from a tinted primer to reduce the number of finish coats needed
Masking and Protection
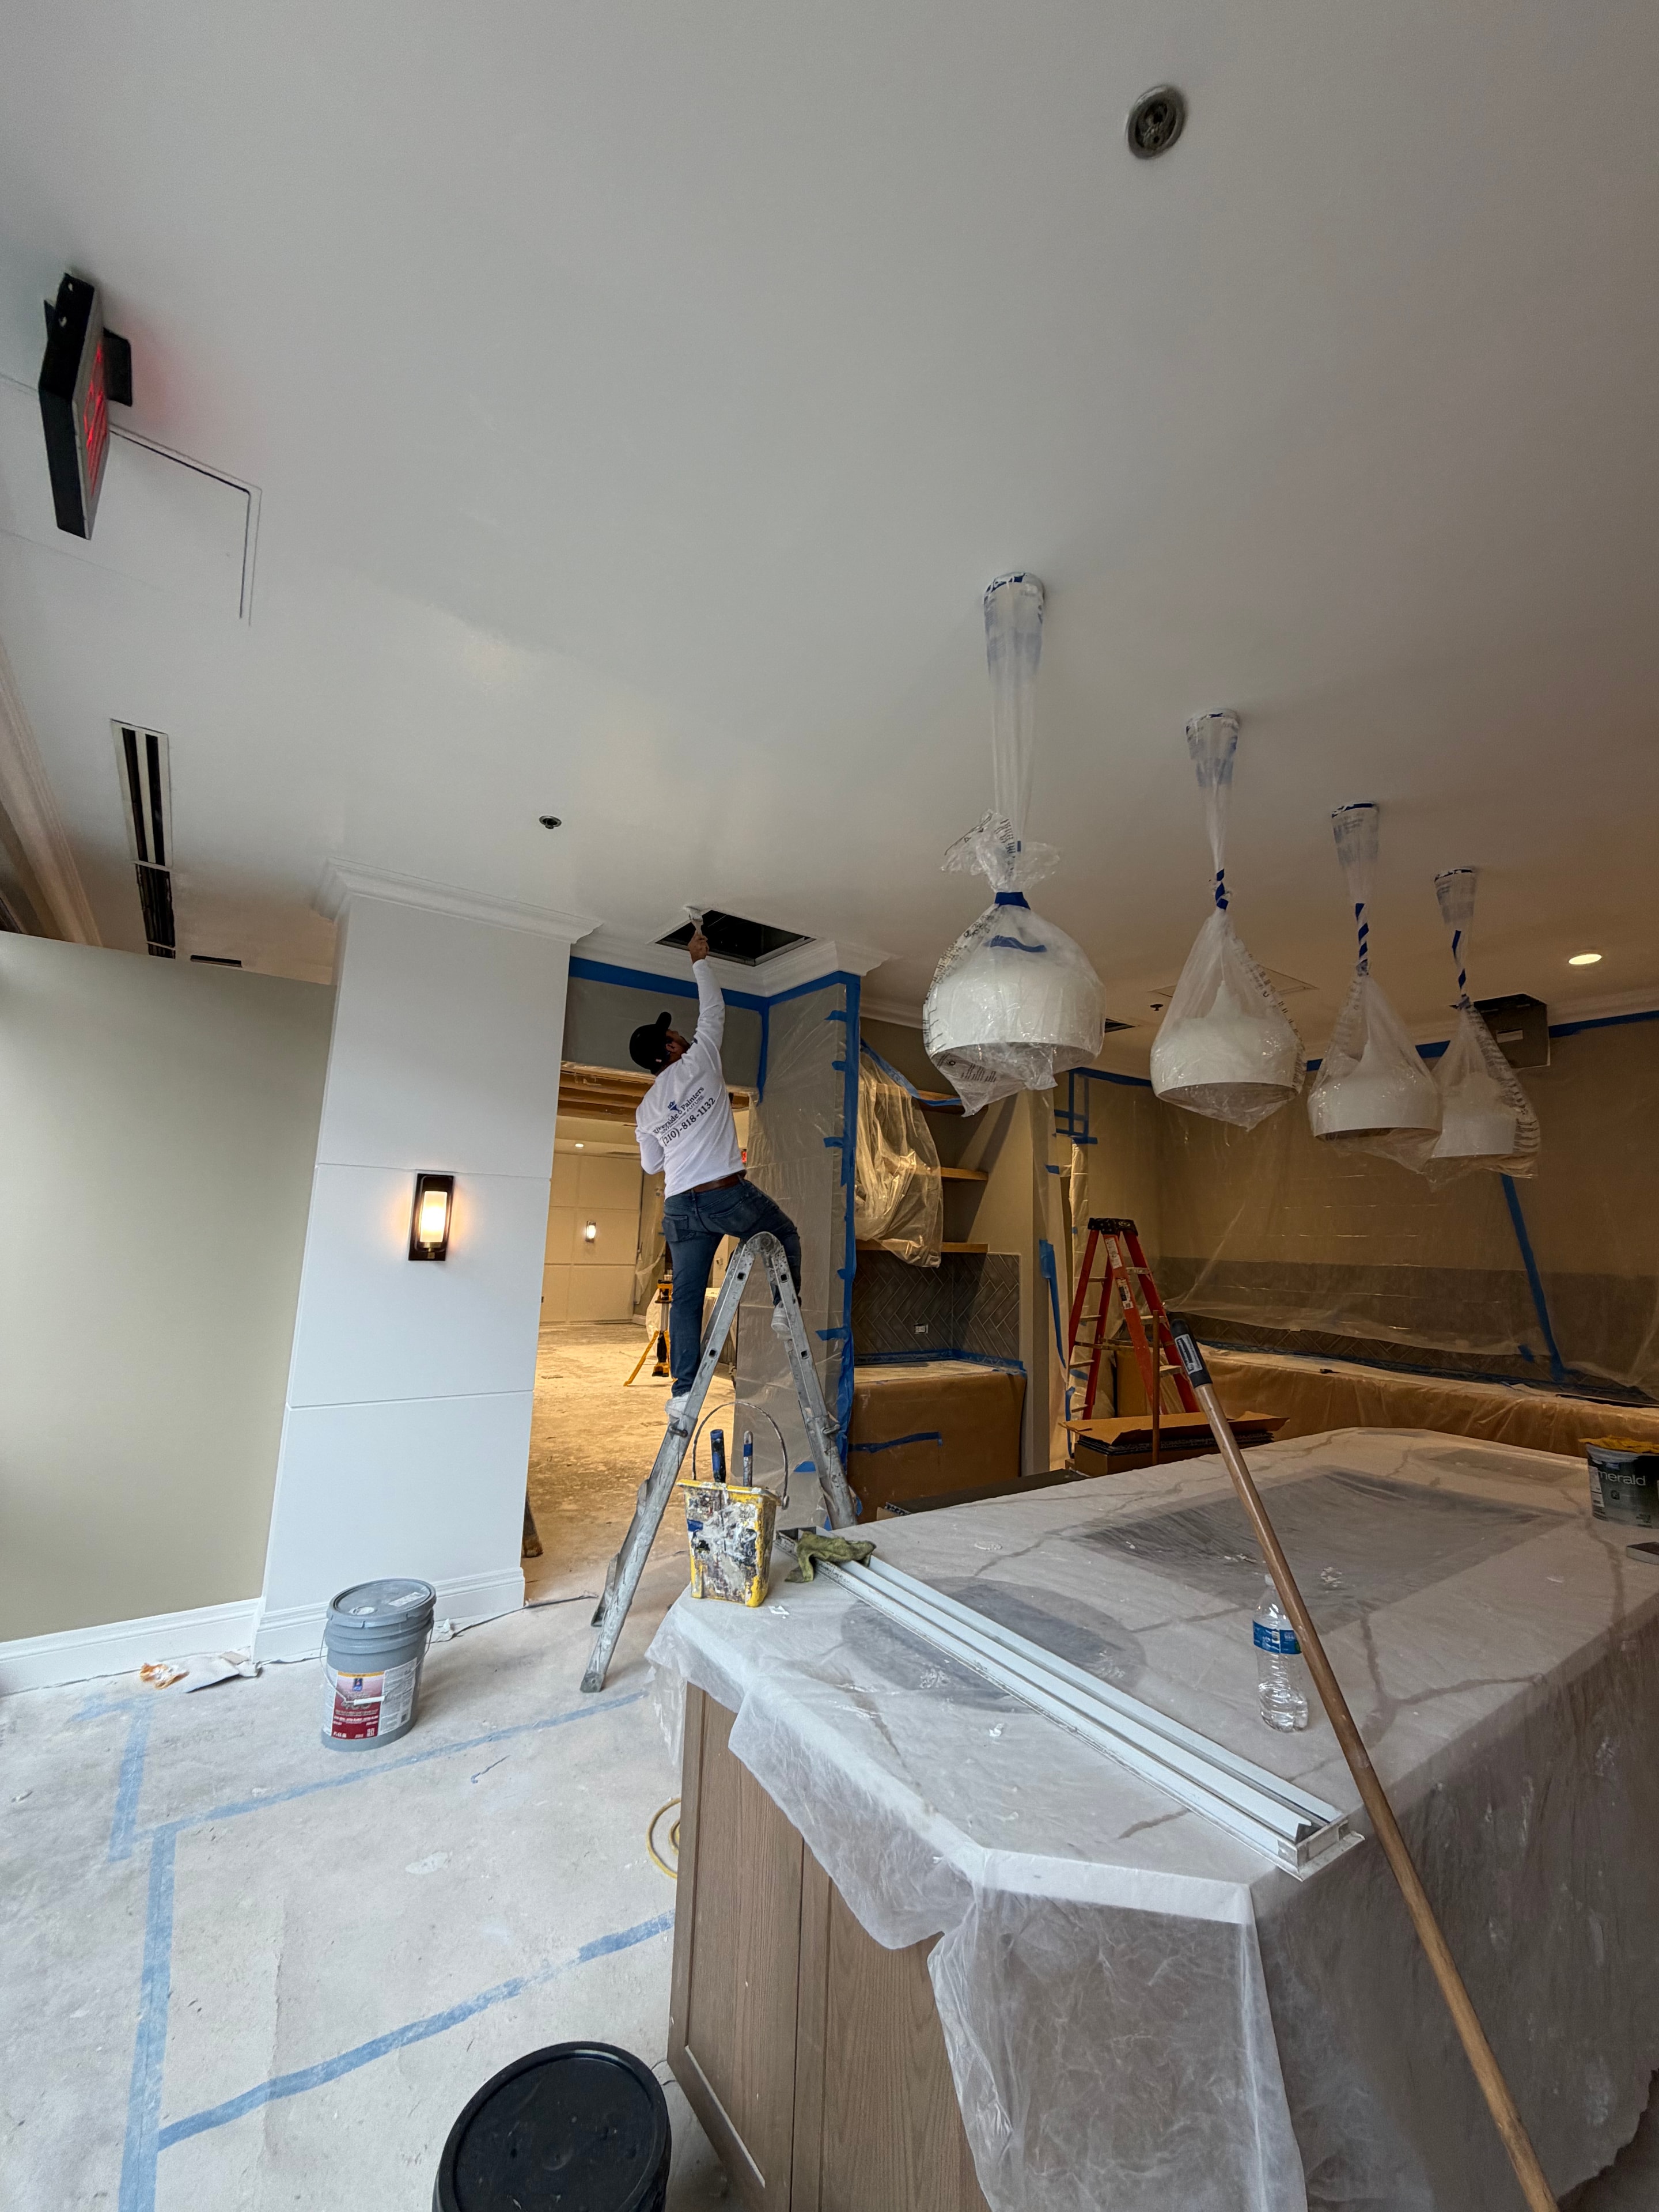
We tape off trim, baseboards, and any surfaces that should not be painted. Floors and furniture are covered with drop cloths. Outlet covers and switch plates are removed.
The Prep-to-Paint Ratio
On a typical interior painting project, preparation takes roughly as long as the painting itself — sometimes longer. A room that takes 3 hours to paint might take 2–3 hours to properly prep.
This is why we never skip prep to save time. Cutting corners on preparation always shows up in the finished product — and often leads to callbacks and touch-ups that cost more time than the prep would have.
A Note on DIY Prep
If you want to save money by doing some prep yourself, the most impactful things you can do are:
- Move furniture and clear the room
- Clean the walls
- Fill obvious nail holes with spackling compound
Leave the caulking, sanding, and priming to the professionals — these steps require experience to do correctly, and mistakes here are visible in the finished product.
Key Takeaways
- Prep is the most important factor in a long-lasting paint job
- Clear the room, clean walls, and note problem areas before painters arrive
- Professional painters handle surface repair, caulking, sanding, priming, and masking
- Never skip prep to save time — it always shows up in the finished product
- Communicate color choices before the job starts to avoid delays
Explore Topics
Written by
Riverside Painters Team
Content creator and writer sharing insights and stories.