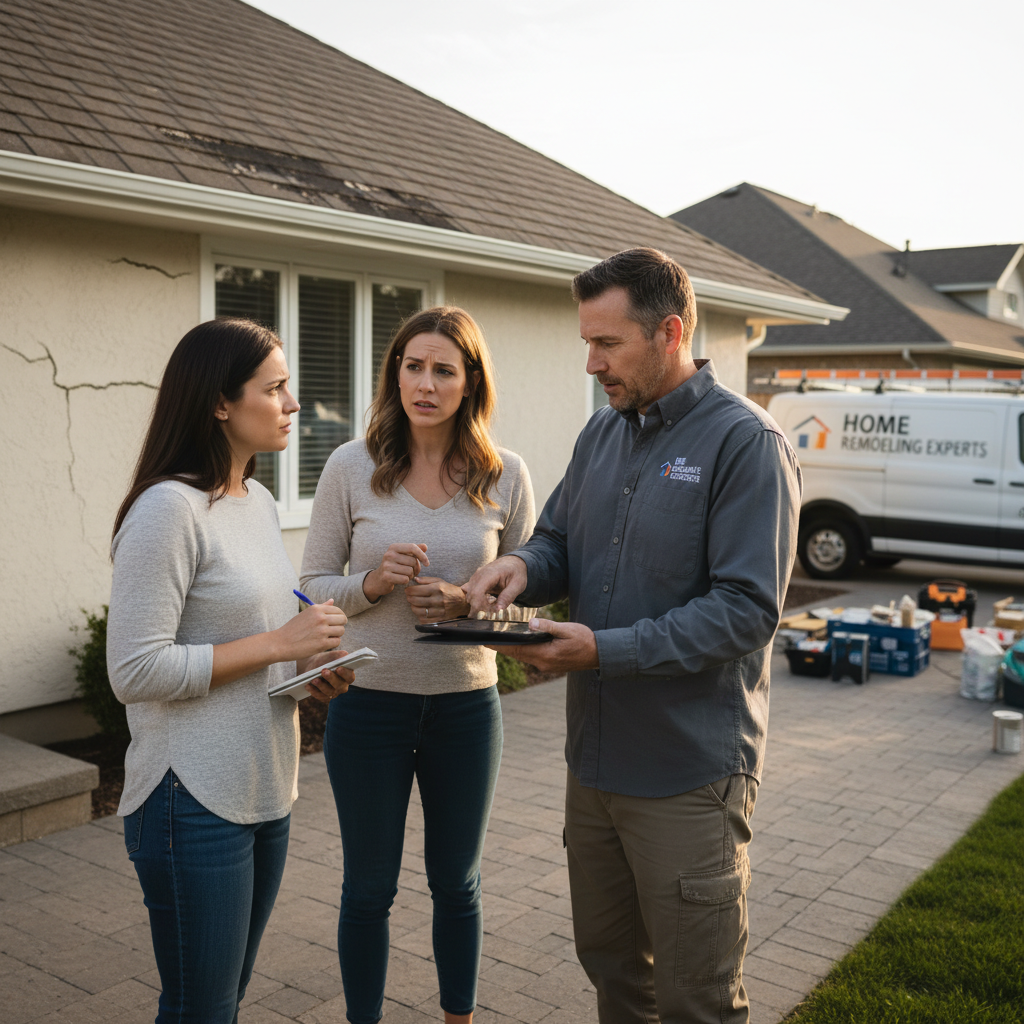
How to Touch Up Paint Without It Looking Patchy
Touch-up paint that looks worse than the original scuff is one of the most frustrating DIY problems. Here is why it happens and how to get touch-ups that actually blend.
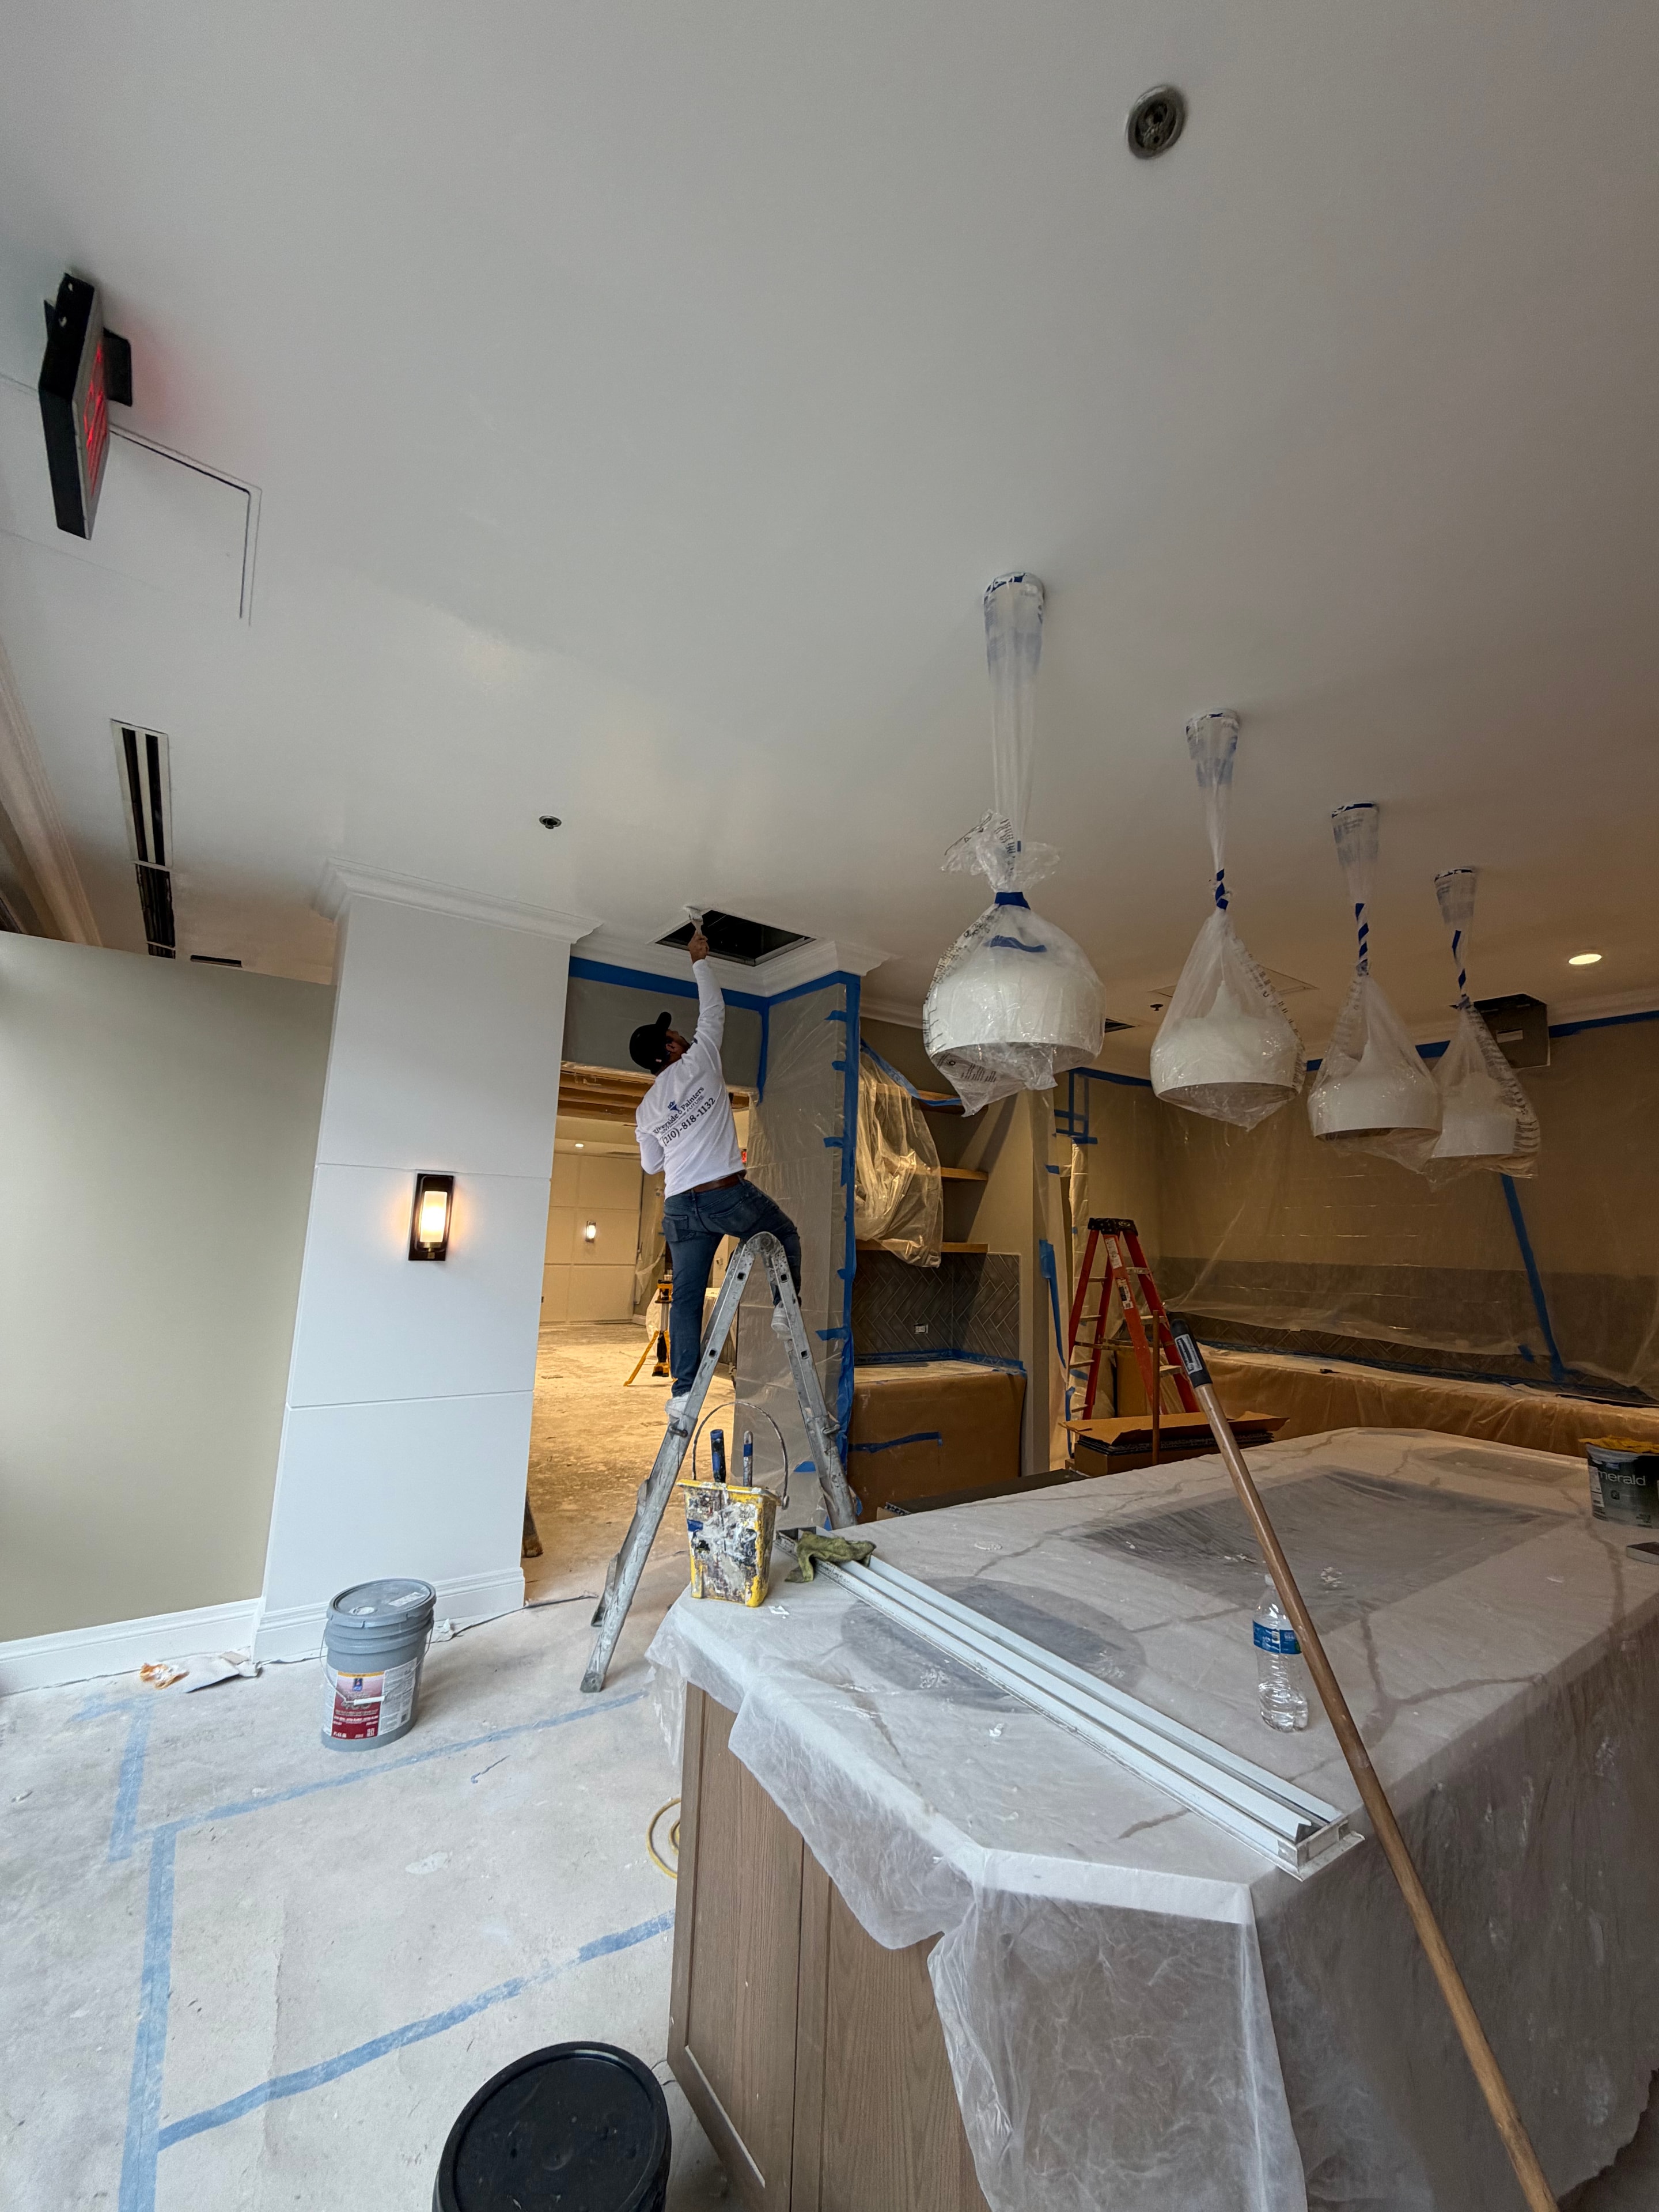
You have a scuff on the wall. You grab the leftover paint, dab it on, and step back — only to find that the touch-up looks worse than the original mark. The patch is shinier, or darker, or has a visible edge. Sound familiar?
This is one of the most common painting frustrations homeowners face. The good news is that it is almost always fixable — once you understand why it happens.
Why Touch-Ups Look Patchy
There are several reasons a touch-up does not blend with the surrounding paint:
Paint sheen difference: Even the same paint can look different when applied in a small area vs. a full coat. Touch-ups often look shinier or flatter than the surrounding wall because the paint film thickness is different.
Paint age and fading: Paint fades over time, especially in rooms with lots of natural light. A touch-up with fresh paint on a faded wall will always look different — the colors simply do not match anymore.
Different application method: Rolling paint produces a slightly different texture than brushing. If your walls were rolled and you touch up with a brush, the texture difference will be visible.
Insufficient blending: Dabbing paint directly on a spot without feathering the edges creates a hard line that is visible even when the color matches perfectly.
Wrong paint: Using a different product, sheen, or batch than the original will produce a visible difference.
How to Get Touch-Ups That Actually Blend
Step 1: Use the Original Paint
This sounds obvious, but it is the most important factor. Keep leftover paint from every job — label the can with the room, color name, and date. Stir it thoroughly before using (paint separates over time).
If you do not have the original paint, take a chip to a paint store for color matching. Modern spectrophotometers are very accurate, but there will still be some variation — especially if the original paint has faded.
Step 2: Clean the Area First
Wipe the area around the scuff with a damp cloth to remove dust and oils. Let it dry completely. Painting over a dirty surface prevents adhesion and makes the touch-up more visible.
Step 3: Use the Right Applicator
Match the application method to the original paint job:
- Rolled walls: Use a small foam roller (4" or 6") for touch-ups. A brush leaves visible brush marks on a rolled surface.
- Brushed trim: Use a brush that matches the original brush size and type.
- Sprayed surfaces: This is the hardest to touch up. A small foam roller is usually the best option for spot repairs.
Step 4: Feather the Edges
Do not just dab paint on the damaged spot. Apply paint to the repair area and then lightly feather the edges outward — gradually thinning the paint as you move away from the center. This blends the touch-up into the surrounding surface rather than creating a hard edge.
Step 5: Apply Multiple Thin Coats
One thick coat of touch-up paint is more visible than two or three thin coats. Apply a thin coat, let it dry completely, then assess. If needed, apply another thin coat. Build up gradually.
Step 6: Consider Painting the Whole Wall
If the paint has faded significantly, or if the touch-up area is large, the most reliable solution is to paint the entire wall from corner to corner. This eliminates the blending problem entirely because you are applying a uniform new coat over the whole surface.
This is especially true for flat and matte paints, which are notoriously difficult to touch up because they absorb light differently depending on film thickness.
When Touch-Ups Are Not Enough
Some situations call for more than a touch-up:
Significant fading: If your walls have faded noticeably over several years, touch-ups will always look different. A full repaint is the only real solution.
Texture damage: If the drywall texture has been damaged (not just the paint), you need to repair the texture before painting. A paint touch-up over damaged texture will not look right.
Large areas: If the damaged area is larger than a few square inches, consider painting the entire wall section rather than trying to blend a large patch.
Sheen inconsistency: If previous touch-ups have already created sheen inconsistencies on the wall, a full repaint is the cleanest fix.
Keeping Touch-Up Paint Ready
A few habits that make future touch-ups easier:
- Label every leftover paint can with the room, color, and date
- Store paint cans upside down to create a better seal (then flip right-side up before opening)
- Keep paint in a temperature-controlled space — extreme heat or cold degrades paint
- Stir thoroughly before using — do not shake, which introduces air bubbles
Key Takeaways
- Touch-ups look patchy because of sheen differences, paint aging, or poor blending technique
- Use the original paint and match the original application method
- Feather the edges rather than dabbing paint directly on the spot
- Apply multiple thin coats rather than one thick coat
- When in doubt, paint the entire wall — it is often faster and looks better than extensive touch-up work
Explore Topics
Written by
Riverside Painters Team
Content creator and writer sharing insights and stories.